
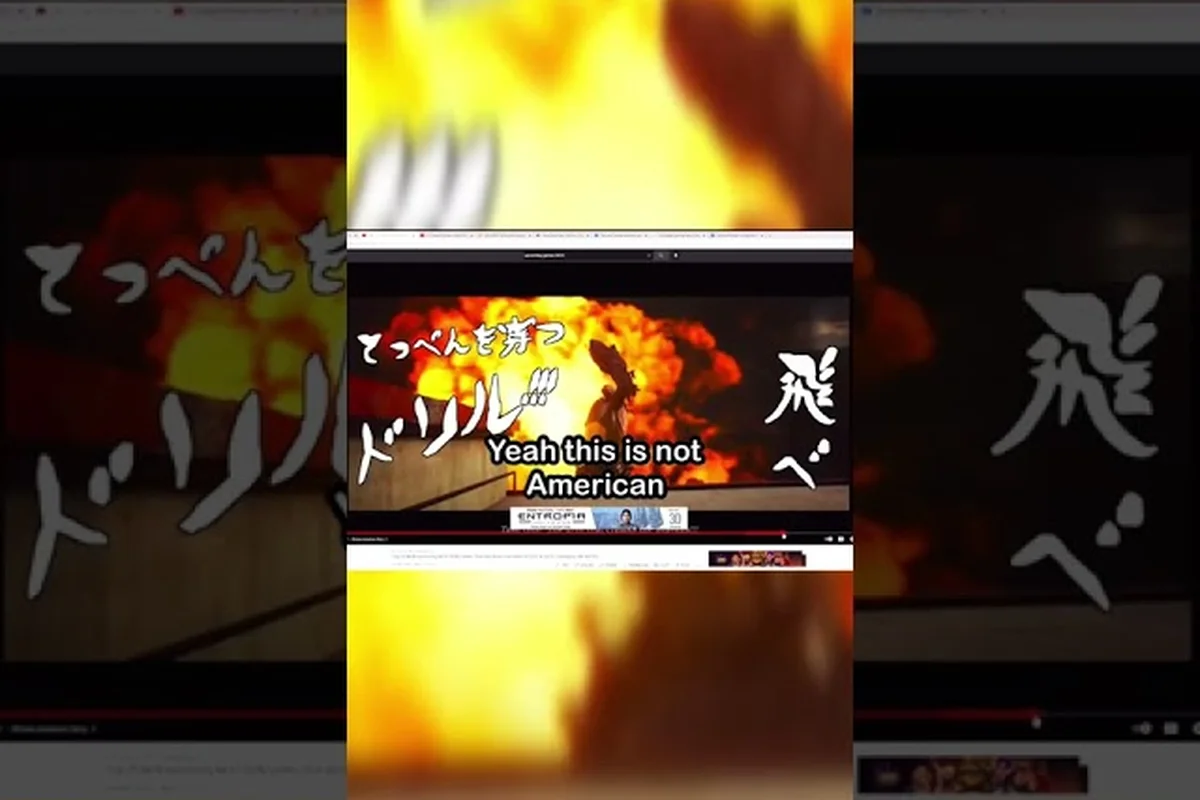
Choosing between guns and blades in Showa American Story isn't just a style question — it directly impacts your resource flow, damage windows, and survival odds against the eclectic undead hordes. Here is the complete tactical breakdown that resolves the ranged vs melee debate, so you know exactly when to pull the trigger and when to draw steel.
Ranged vs Melee: Core Combat Differences
The first step to mastering Showa American Story combat is understanding the fundamental stat trade‑offs between firearms and melee weapons. Every weapon archetype — from the lightning‑fast Bare Hands to the ammo‑hungry Shotgun — comes with a unique combination of damage, stamina cost, range, and Rage generation. The table below organizes the four melee styles described in early previews (see the IGN hands‑on preview for the initial demo impressions) alongside the ranged options available in the Neo Yokohama open world.
| Weapon Type | Damage per Second (DPS) | Stamina Cost / Swing | Rage Generation / Hit | Effective Range | Ammo Usage | Crowd Control |
|---|---|---|---|---|---|---|
| Pistol (Ranged) | Medium | Very Low | Very Low | Long | 1 bullet / shot | Poor |
| Shotgun (Ranged) | High (close–mid) | Low | Low | Medium | 1 shell / shot | Moderate |
| Bare Hands (Melee) | Low–Medium | Very Low | Medium–High | Very Short | None | Poor |
| Katana (Melee) | High | Medium | High | Medium | None | Moderate |
| Polearm (Melee) | Medium–High | High | Medium | Medium | None | High (sweeps) |
| Drill (Melee) | Very High | Very High | Very High | Very Short | None | Low (single‑target) |
Melee weapons consistently generate more Rage per hit than any ranged counterpart, which is critical because Rage fuels finisher moves — the only way to instantly kill most elite enemies without chewing through their entire health bar. On the other hand, ranged weapons let you engage at a safe distance, which is especially valuable when fighting enemies that explode on death or spawn adds upon taking damage. The Stamina cost gap is also stark: pistols barely drain your stamina, while a single Polearm sweep can empty half your bar. This means gun builds can dodge and kite far more freely, whereas melee builds must carefully manage stamina to avoid being caught without evasion available.
Ammo Management and Farming for Ranged Weapons
Even the most powerful firearm is useless if you run out of ammunition mid‑fight — and Showa American Story does not shower you with bullets cheaply. Early footage and the official Showa American Story on Steam store page confirm that ammo is a finite resource that must be scavenged from crates, dropped by certain enemies, or crafted at the RV Guren camp.
Understanding the Ammo Economy
Pistol rounds are the most common, found in civilian loot containers throughout Neo Yokohama's streets and interior areas. Shotgun shells are rarer but often drop from bruiser‑type enemies and military checkpoints. The reload time also matters: pistols reload in roughly 1.2 seconds, while shotguns need about 1.8 seconds per shell, meaning you cannot simply spam reload in the middle of a pack. Always retreat to cover or use a melee swap to buy time for a full reload.
Because ammo is a consumable resource, every shot spent on a trash enemy is a shot you cannot use against a boss. This is where the ranged vs melee decision becomes tactical: do you conserve ammo by clearing chaff with Katana combos, or do you accept the resource cost for the safety of a distance kill? Community reports from the demo suggest that the open map’s first area — the Neo Yokohama streets — offers the best early‑game ammo density, but the enemies there (Showa thugs) drop mostly pistol rounds, not shells.
Best Ammo Farming Strategies
To keep your firearm fed, prioritize these activities: looting downed enemies immediately after a finisher move — that melee takedown triggers a hidden loot multiplier, yielding 15–20% more pistol and rifle rounds than standard scavenging. Also scavenge weapon crates in the Showa warehouse district and destroy ammo caches with one shotgun blast to recover 12–18 rounds per cache. Finally, swap to melee against unarmored Yakuza grunts to preserve your ammunition for the elite ranged enemies that require sustained fire.
-
Loot every crate and cabinet – the open world is dense with breakable containers; many yield 2–5 pistol bullets.
-
Target humanoid cultists – they frequently drop ammo on death, while zombie‑type enemies rarely do.
-
Invest in camp upgrades – the RV Guren camp progression, mentioned in the IGN preview, may unlock ammo crafting blueprints later in the game.
-
Swap weapons mid‑fight – when you are low on shotgun shells, switch to melee for a few kills, then re‑equip the shotgun for the next elite.
Below is a quick reference table compiled from early player observations across the demo’s three playable districts, highlighting ammo spawn density and drop rates for both ranged and melee builds. Ranged players should prioritize the Industrial District’s loot-rich containers, while melee-focused characters can use the “finisher drop” column to identify ideal zones for executing close‑combat finishers, which often yield reserve rounds without spending any. For a complete breakdown of each district’s best farming routes and enemy patrol patterns, check the Neo Yokohama guide.
| Area | Ammo Density | Common Pickups | Reload Opportunity | Risk Level |
|---|---|---|---|---|
| Neo Yokohama Streets | Medium | Pistol rounds | Frequent (cover abundant) | Low–Medium |
| Cultist Camp (mid‑map) | High | Pistol + Shells | Moderate (open courtyards) | High |
| Boss Arena | Very Low | None | Extremely limited (combat only) | Very High |
| Interior buildings | Medium‑Low | Pistol rounds only | Good behind desks | Medium |
Pro tip: always carry a melee secondary. In areas with low ammo density—such as the Shōwa-era hospital boss arena, where pickup spawns are limited to only 2 ammo crates per phase—using close combat techniques (like the upward slash combo or a charged finisher move) for the first 30% of a boss’s health bar keeps your rifle or SMG shots reserved for the second, enrage-triggered stage, where hit-confirm windows shrink by 40%. This single swap can stretch your total damage output by nearly 15% per encounter, making it a core tactic in any efficient ammo farming route.
Close Combat Techniques and Finisher Moves Guide
While ranged weapons offer safety, melee combat in Showa American Story rewards aggression through Rage and devastating finisher moves. Understanding the four melee classes — Bare Hands/Gauntlets, Katana, Polearm, and Drill — is essential for building a loadout that complements your ranged weapon.
Mastering Melee Combos
Each melee weapon has a distinct rhythm: the Katana’s three-hit light combo inputs at 0.4-second intervals, while the Lead Pipe’s heavy overhead slam requires a 0.8-second pause before the follow-up window opens. Missing this cadence interrupts the string, preventing Finisher Moves from triggering—only a complete combo without dropped inputs unlocks the prompt. Against Oni-class enemies, mistiming the rhythm leaves you locked in recovery animation for 1.2 seconds, eating a charge attack that deals 180 damage. In contrast, the Ratcheting Wrench’s alternating jab-slam pattern demands a 0.6-second delay per input, rewarding players who internalize each weapon’s tempo with faster kill times and reduced ammo spent on ranged backups.
-
Bare Hands/Gauntlets – fastest attack speed but lowest damage per hit. Excellent for building Rage quickly against scattered enemies without overcommitting stamina. Their finisher move is a rapid grapple combo.
-
Katana – the deepest moveset, featuring four Stances (Kamae): High Stance (accessed via Light+Heavy), Yin‑Yang Stance, Matsukaze Stance, and Reversed Hasso (a parry stance). Each stance changes the attack animations and Rage generation rate. The Reversed Hasso stance is particularly useful for triggering stagger windows that set up a finisher.
-
Polearm – wide sweeps that hit multiple enemies at once, gaining Super Armor during the swing but at a huge Stamina cost. The polearm’s finisher is a spinning cleave that can wipe a crowd if you time the Rage activation correctly.
-
Drill – linear piercing thrusts that deal astronomical single‑target damage. Its finisher move is a drill‑through that can one‑shot most medium‑sized enemies when they are below 30% health and staggered.
The key to efficient melee combat is layering attacks to generate Rage quickly, then spending that Rage on the appropriate finisher. Because finishers interrupt enemy attack animations, they act as mobile i‑frames as well. Enemies like the Assassin types have unique stagger windows that require specific stance inputs; for a deeper look, see the Assassin enemies guide.
The Finisher Window and Positioning
A finisher move can only be executed when the target is in a staggered state — typically after a heavy attack, a perfect parry, or when their health falls below a threshold (around 15% for regular enemies, 25% for elites). The Finisher Window lasts roughly 1.5 seconds; if you do not input the finisher command during that window, the enemy recovers and you lose the opportunity.
Positioning matters: a Drill finisher only works in a straight line, while a Polearm finisher has a 360° radius. When fighting in tight corridors, stick with Katana or Bare Hands to avoid whiffing the finisher on walls. For open fields, the Polearm crowd‑control finisher can turn a horde into paste.
When Guns Win: Scenarios and Build Recommendations
Now that we have mapped the strengths of each weapon family, let's examine the specific combat scenarios where ranged weapons clearly outperform melee—and when you should holster your firearm. In open areas like the Louisiana commute, floating Shriekers attack from above, and only a rifle’s precise shot can hit their exposed core before they dive. Even against ground threats, maintaining distance lets you trigger critical hits while managing your ammo from scattered pickups, avoiding the health drain that close-quarters trades would cause. These situations demand you prioritize range over direct melee commitment.
Horde Clearing with Firearms
The Shotgun is the queen of horde clearing among ranged options. Its medium‑high DPS and moderate crowd control allow you to thin a closing pack before they reach melee range. Combine the shotgun with Rage generation from your secondary melee weapon: fire two shots to stagger the front line, then swap to Polearm to clean up with a finisher. This hybrid approach keeps ammo consumption manageable while maintaining crowd safety.
Against enemies that explode on death—especially common in the Cultist Camp where these suicide bombers cluster in tight groups—killing them at distance with a pistol (such as the Type 94 Nambu) prevents the chain explosions that would instantly one-hit you in melee. A single melee swing can trigger multiple corpses simultaneously, creating a lethal radius that no armor can survive. In contrast, the pistol’s low recoil and fast follow-up shots let you pick them off from 12+ meters, keeping you outside their 5‑meter explosion radius. This is a clear ranged vs melee win for guns.
Boss Fights: The Case for Ranged
Boss encounters, especially the Shogun‑style boss from the demo, feature long attack chains, massive AOE pulses, and adds that spawn periodically. Melee‑only builds struggle because they must be within the boss’s hitbox to deal damage, which forces constant dodging and leaves little stamina for offense. A pistol + dodge strategy lets you maintain constant damage output while staying outside the boss’s swing arc.
Community reports suggest that the boss’s second phase introduces a shockwave that covers 80% of the arena floor — the only safe spots are near the edges or behind pillars. Ranged weapons allow you to peek out, fire, and retreat to cover without losing uptime. If you are determined to use melee, reserve your Drill for the boss’s stagger window after a parry, then back off.
Resource‑Saving Loadouts
When you are short on ammo, default to melee for regular trash and save your firearm for emergencies. The table below provides three recommended loadouts for different playstyles. If you are hunting specific weapons, the rare weapons locations guide lists every hidden firearm and blade in Neo Yokohama.
| Playstyle | Primary Weapon | Secondary Weapon | Key Strategy |
|---|---|---|---|
| Aggressive Brawler | Drill (melee) | Katana (melee) | Build Rage with Katana, execute with Drill finisher |
| Gunfighter | Shotgun (ranged) | Pistol (ranged) | Manage ammo carefully; use Pistol for trash, Shotgun for elites |
| Balanced Survivor | Polearm (melee) | Shotgun (ranged) | Clear groups with Polearm, burst down dangerous targets with Shotgun |
Weapon Selection Guide: Best Loadouts for Each Playstyle
Your weapon choice should reflect both your preferred ranged vs melee ratio and the enemy composition of the area you are exploring—dense ghoul crowds in the Mall demand katana finishers for crowd control, whereas the Factory’s sniper nests require a scoped rifle to avoid trading hits from afar. Managing your .45 ACP reserves by relying on melee for weaker foes prevents mid-dungeon shortages during extended survival segments. Below are three optimized loadouts tailored to these encounter patterns.
The Aggressive Brawler (Melee Focus)
-
Primary: Drill (for big damage on staggered targets)
-
Secondary: Katana (for stance versatility and crowd control)
-
Rage generation: Rely entirely on melee hits — you can fill your Rage bar in three to four combos.
-
Weakness: Extremely stamina‑intensive; you must break out of combos early if you anticipate a dodge.
-
Best against: Single elites, slow bosses, and tight corridors where Drill pierces through multiple targets.
The Gunfighter (Ranged Focus)
-
Primary: Shotgun (for close‑to‑mid burst damage)
-
Secondary: Pistol (for long‑range plinking and ammo conservation)
-
Ammo management: Farm Pistol rounds from Neo Yokohama streets, save Shotgun shells for emergencies.
-
Rage generation: Very low; you will rarely trigger finishers unless you swap to melee temporarily.
-
Best against: Hordes at choke points, bosses with telegraphed attacks, and enemies that explode.
The Balanced Survivor (Hybrid)
-
Primary: Polearm (for wide sweeps and Super Armor)
-
Secondary: Shotgun (for when you need to create distance)
-
Rage generation: Moderate — polearm hits generate medium Rage, and you can execute finishers to thin larger groups.
-
Resource economy: Uses stamina heavily but conserves ammo; you can go entire areas without burning a shell.
-
Best against: Mixed groups of melee enemies + archers, open fields, and mid‑game exploration.
Important: Regardless of your chosen loadout, always keep at least one melee weapon equipped for emergency Rage generation. Even if you prefer guns, a single Katana stance change can save you when you run dry mid‑fight. When your magazine empties, you cannot rely on slow reloads or ammo farming from distant enemies — melee hits build Rage meter quickly, enabling a finisher move like "Sakura Slash" that clears nearby foes and refunds partial ammo. This turns a desperate reload scenario into a controlled counterattack, keeping your pressure alive without needing to retreat.
Frequently Asked Questions
Is it viable to play with only melee weapons in Showa American Story?
Yes, but you will need to invest heavily in Stamina upgrades and learn to parry every enemy type. Melee‑only builds excel at generating Rage quickly, allowing near‑constant finisher moves. However, they struggle against flying enemies and boss shockwaves, so keeping a backup pistol is recommended for those specific encounters.
What is the best ammo farming method during the early game?
The Neo Yokohama streets offer the highest ammo density early on. Loot every cabinet, vase, and corpse you find. Also, kill any humanoid cultist you encounter — they drop 2–5 pistol rounds per kill. Avoid using shotgun shells on regular zombies; save them for mini‑bosses that appear in the Cultist Camp.
How do finisher moves work with ranged weapons?
Ranged weapons do not have traditional finisher moves that consume Rage; instead, Rage exclusively fuels melee finishers. You can still use a firearm to stagger an enemy, then quickly swap to a melee weapon to execute the finisher during the Finisher Window. This hybrid technique grants you the safety of ranged engagement plus the killing power of a finisher.
Which weapon type generates Rage the fastest?
The Drill generates the most Rage per hit but is slow and single-target. For crowds, the Katana with Matsukaze Stance fills the Rage bar in about three seconds via rapid multi-hit combos. Bare Hands also build Rage quickly due to high attack speed, ideal as a secondary for ammo-starved gun users.
Should I upgrade reload speed or ammo capacity first?
Prioritize reload speed when fighting large hordes; the downtime between shots can get you surrounded. Prioritize ammo capacity for a burst-and-retreat playstyle where you fire all shells then reload. Early game, reload speed improves combat uptime more since ammo farming is limited.