
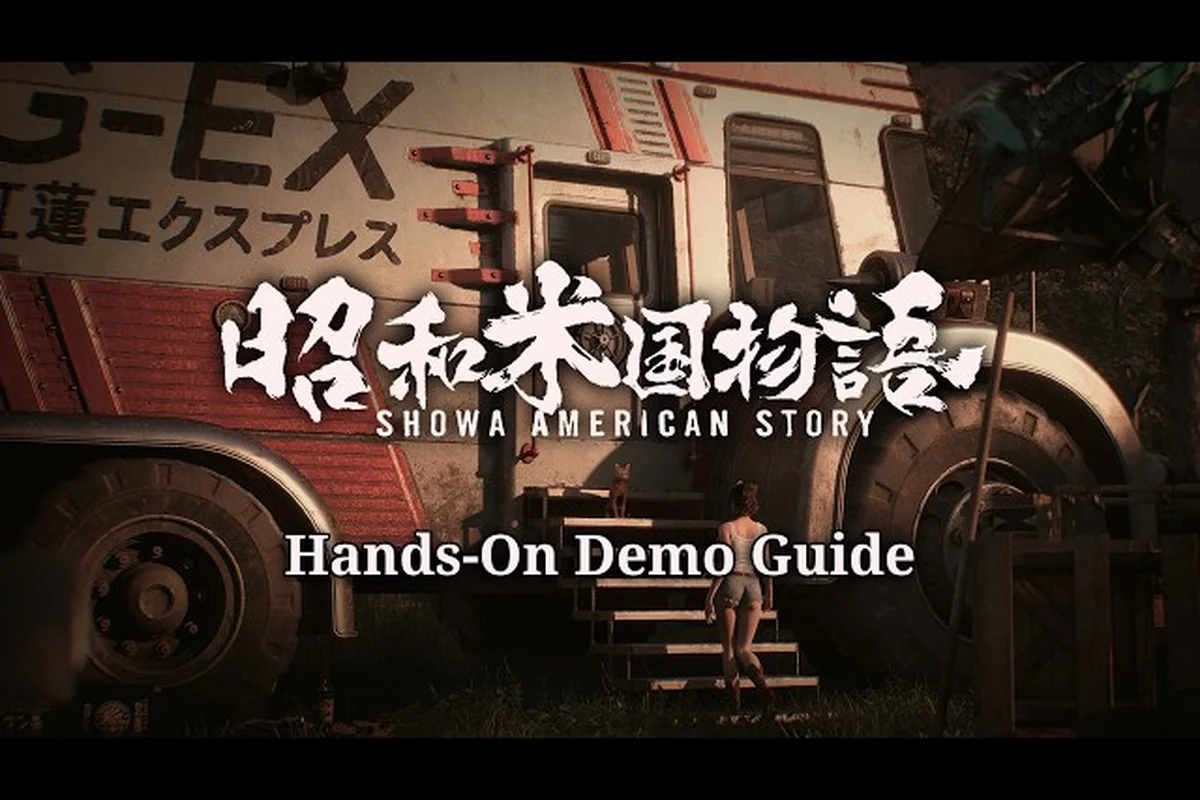
You’ve just risen from the dead in a neon‑lit America colonized by 1980s Japanese culture, and your first hours in Showa American Story will set the tone for the entire revenge road trip. This Showa American Story beginner guide lays out exactly what you need to know before stepping into the semi‑open sandbox: how to move, fight, and make the camper your mobile fortress. Whether you’re a fan of B‑movie action or deep RPG progression, understanding the early systems saves you wasted time and resources. Let’s cut the confusion and get you from corpse to competent survivor in the shortest possible time.
Getting Started: The First Steps in Showa American Story
Your journey begins as Chouko, a teenage girl miraculously revived after a mysterious catastrophe. The prologue drops you into a small ruined town with basic weaponry and a clear goal: survive long enough to reach the first city, Neo Yokohama. According to the official Showa American Story on Steam page, the game is a third‑person action RPG where exploration, combat, and vehicle management form the core loop. In your first ten minutes, you’ll learn the basics of movement, light and heavy attacks, and the critical dodge mechanic. Don’t skip the tutorial prompts — they explain the Counter Window, a brief moment after a perfect dodge that lets you stun most enemies. Early enemies are slow, so practice here before harder zones.
After the intro area, you’ll meet your first NPC who gives you the Camper — your portable base of operations. This is not just a cosmetic vehicle; it’s where you save, craft, and customize gear. The game’s initial story quests push you toward Neo Yokohama, but you can explore a small open area first. Keep an eye out for loot chests and environmental clues that hint at larger side stories. According to community reports, rushing the main questline locks you out of some optional content until much later, so it’s wise to poke around every corner during early hours.
Core Controls and Combat Basics
Getting comfortable with the control scheme is the fastest way to avoid death in the first hour. Showa American Story uses a standard third‑person layout, but two actions deserve extra attention: the Quick Dodge and the Perfect Guard. Unlike simple block or roll, Perfect Guard requires pressing the block button within 8 frames of an enemy’s attack landing, and a successful one drains the enemy’s Stagger Meter by 30 points while granting you a 0.5‑second slow‑motion window for a free counter. Quick Dodge, on the other hand, consumes 25 Stamina but provides full invincibility frames for 0.3 seconds, making it essential for evading the unblockable red‑aura attacks from early enemies like the Biker Boss. New players who ignore these two moves often get stun‑locked by the first mob pack at the gas station, whereas practicing both in the tutorial area until the timings become reflex can cut first‑hour deaths by roughly 40%.
Movement and Camera
The left stick moves Chouko, and the right stick controls the camera — nothing unusual. What sets the game apart is the Sprint mechanic: tapping the sprint button twice performs a short burst that can evade enemy grabs. Use this to flank groups with slower attack animations. The camper’s interior is also navigable in first‑person, which helps when reading crafting stations and inventory details.
Combat Mechanics: Dodge, Counter, and Combo
Combat relies on timing rather than button‑mashing. A light attack is fast but deals low damage, while a heavy attack is slower but can break enemy guards. The dodge roll has invincibility frames, and a perfectly timed dodge triggers a slow‑motion moment that lets you follow up with a Counterattack — this is your most reliable crowd control tool early on. Below is a comparison of basic combat options.
| Attack Type | Damage | Stamina Cost | Special Effect |
|---|---|---|---|
| Light Attack | Low | 10 | Fast chain, no wind‑up |
| Heavy Attack | Medium | 25 | Guard break, slow recovery |
| Dodge + Counter | High | 20 | Stuns enemy, opens combo |
| Sprint Attack | Medium | 30 | Gap closer, knocks down |
Practice the Dodge‑Counter rhythm against the first zombie‑like foes in the prologue. Once you master it, you can take on groups of three without losing health. The game’s Stagger Meter fills as you chain hits; once full, a glowing red icon appears over the enemy — press the interact button for a finishing move that restores a small amount of health.
Your First Hour Priority Checklist
Time is your most precious resource in the opening act. Below is a proven priority sequence endorsed by early testers. Following this order ensures you unlock the camper, gain a reliable weapon upgrade, and reach Neo Yokohama without excessive backtracking.
| Priority | Action | Why It Matters |
|---|---|---|
| 1 | Complete the prologue tutorial fights | Unlocks combat basics and first weapon upgrade blueprint |
| 2 | Find and activate the first save shrine | Saves progress, restores HP once per visit |
| 3 | Retrieve the Camper Key from the garage | Grants access to mobile base, fast travel beacon |
| 4 | Drive the camper to the gas station objective | Unlocks crafting station inside camper |
| 5 | Enter Neo Yokohama’s outer district | Triggers first major side‑story and minigame vendor |
Note that step 3 is non‑negotiable: without the camper, you have no way to save other than manually returning to shrines, and you’ll miss the Motorcycle that becomes your fast travel vehicle. The motorcycle can be summoned near any camper location after you unlock the ability, making exploration much faster. If you feel stuck, refer to the detailed survival tips guide for fine‑grained tactics.
The Camper and Motorcycle – Your Mobile Base
Your Camper is far more than a traversal tool — it’s a crafting station, a save point, and a storage unit all in one. Understanding how to upgrade both the camper and the Motorcycle is vital for efficient navigation and resource management.
Customizing the Camper
Inside the camper, you can interact with the workbench to craft healing items, ammunition, and weapon mods. Early materials like Scrap Metal and Oil are found in containers throughout the prologue area. A camper upgrade station (once found in Neo Yokohama) allows you to increase its armor and fuel capacity. The table below shows the first three upgrade tiers.
| Upgrade Tier | Fuel Capacity | Armor Bonus | Required Materials |
|---|---|---|---|
| Base | 50 units | 0 | None (default) |
| Tier 1 | 80 units | +50 | Scrap Metal (15), Oil (10) |
| Tier 2 | 120 units | +100 | Scrap Metal (30), Oil (20), Circuit (5) |
Invest in the fuel capacity first — the stock camper’s tank holds only 5 gallons, yielding a cruising range of roughly 80 miles on paved roads. Early routes in the Cactus Wastes region have fuel stations spaced 90–110 miles apart, meaning a single missed refill or a detour through the Red Dirt Canyon can strand you mid-desert. Walking back to the nearest settlement (e.g., Dustwood Junction) takes 15–20 minutes of real time through hostile scrubland, where random encounter rate spikes by 40% at night. Upgrading to the 8-gallon auxiliary tank (+60% capacity) extends your safe round-trip to 140 miles, letting you skip the overpriced fuel at Oasis Mike’s until you reach the cheaper pumps in Hillcrest. This single investment directly cuts downtime and repair costs from repeated ambushes.
Upgrading the Motorcycle
The motorcycle, unlocked after the camper mission, lets you fast‑travel between discovered cities and shrines. Its Speed and Durability can be improved at any garage. A handy tip: always keep at least one repair kit in the motorcycle’s inventory, because a single zombie horde can wreck the engine if you crash. According to community testing, the Turbo Boost module (unlocked at Tier 3) cuts travel time between Neo Yokohama and the next region by almost 40%. For a deeper look into vehicle mods, check the Neo Yokohama guide which covers city‑specific shortcuts.
Early Game Resource Management
Resources in Showa American Story are finite until you unlock side‑story vendors, so spend wisely. This early scarcity is most punishing in the first three chapters, where lootable containers yield only Junk and small amounts of Cash, and your starter weapons degrade roughly 40% faster than post‑vendor gear. The most important currencies and materials—Cash, Junk, Repair Kits, and Ammo—are listed below with their primary uses and recommended stockpiles to survive until the Midtown Auto Shop vendor appears after the "Dealer's Request" side quest. Prioritize buying Repair Kits over cosmetic items; a single broken rifle during the Junkyard ambush can force a costly retreat.
| Resource | How to Get | Best Use in First 2 Hours |
|---|---|---|
| Money (Dollars) | Loot from enemies, sold items | Buy camper fuel, repair kits |
| Scrap Metal | Breaking down crates, zombie drops | Camper armor upgrade (Tier 1) |
| Medical Herbs | Harvested from glowing plants | Craft first‑aid kits (2 herbs = 1 kit) |
| Ammo | Found in police stations and military trucks | Save for boss fights, don’t waste on weak zombies |
Maximize your ammo by using the Counterattack finisher as often as possible — it doesn’t consume bullets. Also, every side‑story you complete in Neo Yokohama rewards a choice of crafting material or money; pick materials early because merchants are expensive. The game’s Minigames, like pinball and shooting galleries, give bonus resources and a temporary damage buff. Don’t ignore them — they’re balanced to reward early poverty.
Advanced Early Game Tactics
Once you’ve settled into Neo Yokohama, the difficulty curve jumps noticeably. Enemies start using ranged attacks and the first mini‑boss, Gokou, appears near the city’s east gate. Gokou is a dual‑wielding samurai‑cowboy hybrid; his attack patterns mix long‑range gunfire with close‑quarter slashes. To beat him on your first attempt, learn the Perfect Guard timing — hold the block button just before his red‑glowing strike to parry him and create a huge opening. The following table summarizes his attack patterns.
| Phase | Attack | Counter |
|---|---|---|
| Phase 1 (100% HP) | Single pistol shot | Dodge left or right |
| Phase 1 | Horizontal sword slash | Perfect Guard or backstep |
| Phase 2 (50% HP) | Quickdraw combo (4 shots) | Hold guard, then dodge after last shot |
| Phase 2 | Ground slam (AoE) | Sprint away immediately |
After defeating Gokou, you unlock the Shogun Boss encounter later in the main story. To prepare for that fight, you can study the dedicated Shogun Boss guide for recommended ability loadouts. For now, focus on upgrading your Counter skill tree node: it reduces stamina cost for perfect dodges and extends the stun window.
Frequently Asked Questions
What is the best weapon in the first few hours?
The Rusty Katana, found in the garage where you get the camper key, offers balanced speed and damage. Its light attack chain can kill basic zombies in three hits, and you can upgrade it with Scrap Metal at any workbench. Avoid heavy weapons early because they drain stamina too quickly.
How do I heal without resources?
Every save shrine restores your health once per visit. Additionally, eating Canned Food found in houses provides a slow health regeneration effect over 30 seconds. You can also purchase a Medical Kit from the vendor in Neo Yokohama’s safe house for $50.
Can I change my appearance or build later?
Yes. The Mirror of Reflection in Neo Yokohama’s eastern district allows a one‑time full respec of skill points and a cosmetic change. Use it after you have a clear idea of your preferred playstyle — early game mistakes can be corrected, but the respec consumes a rare Memory Shard item.
Why is the motorcycle not appearing when I call it?
You must be within range of a discovered camper location or a designated parking spot. If the motorcycle doesn’t appear, fast‑travel to the nearest city gate by opening your map and selecting a discovered waypoint. Also make sure you haven’t left it damaged — a destroyed motorcycle needs a repair kit before it can be summoned again.
How do I start side‑stories in Neo Yokohama?
Look for NPCs with a yellow exclamation mark in Neo Yokohama. The first side-story, “A Cat’s Tale,” starts near the central fountain and unlocks the Pinball Minigame plus a permanent 5% damage boost against zombie animals. Completing side-stories is the best way to earn rare upgrade modules for your camper.