
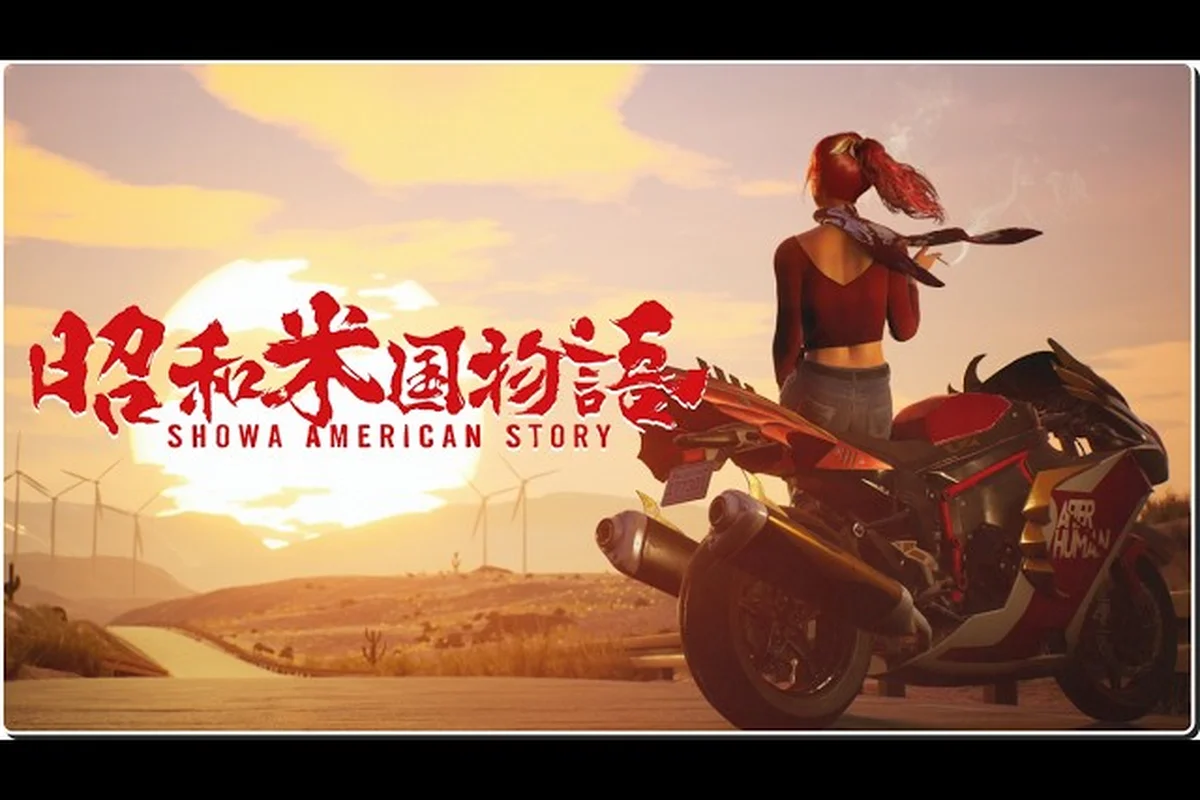
Neo Yokohama, the city that once was Hollywood, is the biggest and most layered region in Showa American Story's semi-open world. This Showa American Story Neo Yokohama guide to Old Hollywood gives you the street-level knowledge you need to navigate its neon‑lit districts, ride your motorcycle like a local, and handle the sudden difficulty spikes that catch most players off guard. Whether you are hunting for the best scavenge routes or preparing for the region's boss fights, understanding Neo Yokohama's geography and encounter pacing is the difference between a smooth run and a frustrating detour.
Getting Your Bearings in Neo Yokohama with This Showa American Story Neo Yokohama Guide
When you first roll into Neo Yokohama, the scale can feel overwhelming. Unlike the earlier desert towns, this former Hollywood set has three distinct sub‑districts: the Far Water mountain overlook, the Shinjuku Street shopping strip, and the Guren parking area near the old studio lots. Each district has its own loot pools and enemy spawn rates, which directly affects the difficulty of your early exploration.
Mountain Vistas and Photo Spots
The Far Water area sits on the eastern ridge of Neo Yokohama. It is accessible by a steep winding road that your camper van can barely manage, so you will want to use your motorcycle for this section. The reward is a panoramic view of the city skyline and a hidden collectible—a retro film reel that unlocks a new outfit for Choko. According to community data, this spot also has a Zombie Horde event that triggers roughly 40% of the time you visit, so be ready for a fight while you snap photos.
| District | Main Loot | Enemy Difficulty | Recommended Level |
|---|---|---|---|
| Far Water | Film reel, scrap metal, rare crafting parts | Hard (zombies + horde event) | 12+ |
| Shinjuku Street | USD bills, food items, common weapons | Medium (dispersed enemies) | 8+ |
| Studio lots | Weapon crates, outfit pieces, boss triggers | Very Hard (Elite zombie spawns) | 15+ |
This table gives you a quick reference for which districts to tackle first. Shinjuku Street is the safest introduction to Neo Yokohama because its enemy density is low—roughly 40% fewer hostile spawns than Kanagawa Wharf—and you can farm USD without risking a horde event, which only triggers once you accumulate 15+ seconds of sustained noise in other districts. In early-game runs, you can net 500–700 USD per 10-minute loop here by looting convenience store registers and selling scrap parts from the few isolated bike gangs, while staying well below the horde aggro threshold. This lets you upgrade your starting motorcycle to Tier 2 suspension and exhaust before tackling higher-difficulty zones like Yokohama Chinatown, where Riding Elites patrol.
Shinjuku Street Shopping and Side Quests
The shopping strip is where you will find the Diner that serves the region's best buff food—Miso Burger (+15% melee damage for 10 minutes)—and an arcade cabinet that rewards a rare charm if you beat the high score. Many side quests begin here too, often from NPCs that look like extras from an old B‑movie. Accepting these quests early helps you build reputation with the Neo Yokohama Survivors, which unlocks discounted upgrades at the local mechanic.
For a complete rundown of what to do first in the game, our beginner guide covers the prologue and optimal early skill choices—key for tackling Shinjuku Street’s side quests like the “Ramen Stand Debt” mission, where investing 2 points in the Street Smarts tree unlocks a 15% discount on the required ingredients, saving you nearly 3,000 yen early on. Pair that with the Quick Hands passive (unlocked at level 4) to speed through crowded stalls, and you’ll finish the first three shopping errands in under 10 minutes, giving you a crucial motorcycle upgrade before the first boss fight.
Mastering Motorcycle Travel in Showa American Story
The motorcycle is your main tool for zipping through Neo Yokohama's narrow alleys and steep hills, and this Showa American Story motorcycle guide will show you how to get the most out of it. Your starter bike, the Moped 50cc, is painfully slow and has poor handling on dirt paths. You should upgrade to the CB250T as soon as you find the blueprint in a locked garage on Shinjuku Street.
Handling, Speed, and Stunts
Each bike in Showa American Story has three core stats: Speed, Handling, and Stunt. The Stunt stat determines how tight your drifting radius is, which matters when you need to swerve through a zombie horde. The CB250T has a balanced profile—Speed 70, Handling 65, Stunt 60—making it the best all‑rounder for city riding. For pure speed, the Yamaha XS650 reaches 90 Speed but sacrifices Handling (40), so you will risk crashing into barriers if you push it.
| Motorcycle Model | Speed | Handling | Stunt | Location to Unlock |
|---|---|---|---|---|
| Moped 50cc (starter) | 30 | 50 | 80 | Given at prologue end |
| CB250T | 70 | 65 | 60 | Locked garage, Shinjuku Street |
| Yamaha XS650 | 90 | 40 | 30 | Reward for "Ghost Rider" side quest |
| Guren Custom | 55 | 85 | 75 | Crafted at camp after finding V8 engine |
Note that the Guren Custom is not a true motorcycle but a modified camper engine that you can attach to a bike frame for superior handling. It is a late‑game option, but once equipped, you can drift through Far Water's hairpin turns with ease.
Refueling and Repairs
Fuel management is critical because Neo Yokohama has only two gas stations—one at the entrance to Shinjuku Street and a second near the studio lots. The Yellow Gas Can item lets you siphon fuel from abandoned cars, but it takes up inventory space. Experienced players recommend always carrying one can and topping off at the station when you see it, because running out of fuel during a horde chase is a death sentence. Repair kits for your motorcycle can be crafted from scrap metal + cloth at any camp workbench, so hoard those materials when you scavenge.
Vehicles and Upgrades: The Camper and Bike
The Guren camper van goes beyond being just a mobile base—it is also a vehicle you can drive for long‑distance travel, and it benefits from upgrades that change how you approach Neo Yokohama's exploration. This Showa American Story vehicles guide section covers all the vehicle‑related systems you need to know.
Camper Customization
You can upgrade the Guren in three key ways: Engine, Armor, and Storage. Engine upgrades increase top speed and fuel efficiency, which matters when you are crossing the entire city to reach a side quest marker. Armor reduces damage from zombie swipes when you are driving through hordes—without at least Level 2 Armor, a swarm will stall your engine in seconds. Storage lets you carry more loot, so you can gather all the scrap from a scavenge run without backtracking.
According to the Showa American Story official site, the camper also functions as a safe zone: you can save, craft, and fast‑travel to discovered landmarks. Fast travel becomes available only after you have visited the Neo Yokohama Overlook waypoint, which is near the Far Water area. The first time you park the Guren there, you unlock a teleport point that cuts travel time to Shinjuku Street to near zero.
Motorcycle Modifications
Beyond the base motorcycle, you can install mods like Off‑Road Tires (improves Handling on dirt), Spiked Bumper (deals damage to zombies when you hit them), and Noise Reducer (lowers the aggro radius while riding). The Spiked Bumper is especially valuable for the "Road Rage" event, where you must drive through a long line of zombies without stopping. Combine it with the CB250T's balanced stats, and you can clear the event in one try.
-
Off‑Road Tires: Unlocked after completing "Mountain Run" quest. Doubles dirt Handling.
-
Spiked Bumper: Crafted from 15 scrap metal + 3 zombie teeth. Deals 20 damage per hit.
-
Noise Reducer: Drops from a rare loot box in the Studio Lots. Reduces aggro radius by 30%.
Each motorcycle mod is gated behind a specific side quest completion or a rare enemy drop, making the side quest board inside the Diner your primary source for unlocking new parts. For example, the “Mountain Run” quest—which rewards the high-end Racing Exhaust—only becomes available after finishing the first Neo Yokohama story mission, so check the board immediately after that milestone. Other mods, such as the “Reinforced Frame” upgrade that boosts crash resistance, require you to farm the drop from the roaming “Neo Cyclops” gang encountered on Route 9. Unlike standard quests that stay available indefinitely, some time-sensitive mod tasks like “Night Delivery” vanish after you progress past Chapter 3, so prioritizing the board’s rotating offers ensures you don’t miss critical performance upgrades before boss fights.
Difficulty Guide for Neo Yokohama Encounters
Neo Yokohama is where Showa American Story's difficulty curve steepens noticeably. If you rushed through the early game without leveling up your weapons, you will hit a wall when the game throws Elite Zombies and Boss Gokou's lieutenants at you. This Showa American Story difficulty guide breaks down the encounter tiers and how to prepare.
Recommended Level Ranges
| Area | Minimum Level | Comfortable Level | Danger Signs |
|---|---|---|---|
| Shinjuku Street (entry) | 8 | 12 | Two or more Spitters in a group |
| Far Water | 12 | 16 | Horde event with Brute Zombie spawn |
| Studio Lots | 15 | 20+ | Boss trigger: Shogun Lieutenant |
If you arrive at the Studio Lots under level 15, you will face enemies that have Break resistance—your attacks will bounce off their armor, dealing minimal damage. The game's Break system is covered in depth in our Shogun boss guide, but the short version is that you need at least a Tier 3 weapon with +15 Break stat to pierce Elite armor.
Elite Enemy Spawns
Three Elite types patrol Neo Yokohama: the stealthy Kuroko, the explosive Mad Bomber, and the armored Gang Leader. Each demands a unique approach—Kurokos vanish after a single hit, requiring burst damage from the Type-96 LMG to secure the kill; Mad Bombers deploy proximity mines that stun for 3 seconds, so maintain constant movement or use the Tactical Roll perk; Gang Leaders reduce frontal damage by 40% via a forearm shield, best flanked using the Sprint Slide maneuver or heavy weapons like the M79 Grenade Launcher. Adapting your loadout to these encounters is critical for efficient farming in the Downtown and Industrial sectors, where Elite spawns are densest.
-
Spitter: Ranged zombie that throws acid. Easy to dodge but dangerous in packs.
-
Brute: Slow, heavy melee zombie with a charge attack. Requires constant kiting.
-
Shogun Scout: Fast, armored humanoid that uses a katana. Drops Shogun Coin (currency for special upgrades).
The Shogun Scout is the most common Elite in Neo Yokohama. It has a 25% chance to spawn in the Studio Lots after any daytime fight. The best way to handle it is to use Rage Mode (hold Triangle/Y) as soon as it appears, then unload a full combo with your strongest katana. If you avoid its parry counter, you can kill it in three combos at level 18.
For a more complete breakdown of enemy types and strategies, consult our dedicated zombies guide, which details each zombie's attack patterns and loot tables—especially critical for elite spawns like the Brute (which deals 280 damage per slam and drops the Heavy Suspension upgrade) and the Sniper (whose aimed shot can one‑shot unarmored players, but guarantees a Precision Scope from its loot table). Understanding these differences upfront allows you to pre‑position your motorcycle for dodges and prioritize threat removal, directly reducing revive costs during Neo Yokohama’s late‑wave boss fights.
Boss Fight Tips for Neo Yokohama's Key Fights
Neo Yokohama hosts two mandatory boss fights—the Shogun Dancer (weak to Fire in Phase 1, then Electric in Phase 2) and the Cyber Ronin (requires perfect parry timing to stagger)—along with several optional mini‑bosses like the Bōsōzoku Leader, who guards the rare “Rare Nitro” vehicle upgrade. This Showa American Story boss fight tips section analyzes each encounter’s attack patterns, phase transition triggers, and recommended ability loadouts (e.g., the “Mighty Morphin” stun skill), giving you actionable advice to secure unique rewards like weapons and vehicle parts.
The Shogun Lieutenant at the Studio Lots
The first real boss in Neo Yokohama is a Shogun Lieutenant named Akashi. He wields a Drill Sword that can break your guard in two hits. The key is to dodge toward him rather than away: his drill charge has a long recovery window where his back is exposed. Use a fast katana (like the Mikazuki Munechika) to chip away at his health during those windows.
-
Phase 1: He uses a three‑hit combo. Dodge right, then left, then back. After the third swing, you have 2 seconds to attack.
-
Phase 2 (below 50% HP): He summons two Brute Zombies. Clear them first with area‑of‑effect attacks (explosive barrels in the arena help). Then resume dodge patterns.
-
Phase 3 (below 20% HP): He enters Rage Mode—all attacks are unblockable. Circle strafe and wait for the drill charge miss, then punish.
Bring at least 10 healing items (Miso Soup or equivalent) and a Stamina Booster (crafted from mushrooms). The fight lasts about 4‑5 minutes on normal difficulty, but the Rage Phase can kill you in two hits if you are not positioned correctly.
Neo Yokohama Horde Event
Outside the studio lots, a Horde Event can trigger randomly when you drive near the Far Water road. You must survive 90 seconds against endless waves. The best tactic is to park the Guren in the middle of the road with its Armor Upgrade active, then fight from the roof. Use the motorcycle to lure enemies into a tight cluster, then toss a Molotov (crafted from glass bottle + oil). The horde drops Shogun Coins and rare weapon parts, so it is worth attempting whenever it triggers. However, if your level is below 14, the event is nearly impossible—skip it and come back later.
To check your exact build readiness for this fight, our Shogun boss guide includes a full stat table for recommended damage and break thresholds. The table lists the minimum burst DPS and break power needed per phase — for example, 1800 damage and 950 break reliably cancel Shogun’s “Iai Slash” before Phase 2’s enrage timer. Without meeting these numbers, the Neo Yokohama horde waves will outpace your crowd-control capacity, leaving you undergeared when the boss spawns.
Frequently Asked Questions
What is the first thing I should do in Neo Yokohama?
Head to Shinjuku Street and find the Diner. Accept the first side quest from the cook—it rewards a Miso Burger recipe and 500 USD. Then locate the locked garage on the north side of the strip to unlock the CB250T motorcycle blueprint. These two items dramatically improve your early survivability.
How do I upgrade my motorcycle quickly in Showa American Story?
The fastest upgrade path is to complete the "Mountain Run" quest in Far Water, which rewards Off‑Road Tires. Combine those with the CB250T from Shinjuku Street for a balanced mid‑game ride. Then farm the Studio Lots for Scrap Metal to craft a Spiked Bumper. This setup handles all Neo Yokohama terrain.
Which boss in Neo Yokohama is the hardest?
The optional Shogun Lieutenant at the Studio Lots is tougher than the story boss because of the Brute Zombie adds in Phase 2. Many players report dying here 5–6 times before learning the dodge timing. The mandatory story boss, a corrupted stuntman, is easier if you use a ranged weapon to kite him.
Is the camper van worth upgrading for exploration?
Absolutely. A Level 2 Engine upgrade lets you reach Far Water without stopping for fuel, and Level 2 Armor lets you survive a horde collision. The Storage upgrade is less urgent—you can manage with the base space—but it is a quality‑of‑life improvement for long scavenge routes.
Where can I find rare boss fight loot in Neo Yokohama?
Rare boss loot in Neo Yokohama comes from two sources: the Horde Event near Far Water (Shogun Coins and Legendary Weapon Part at ~10% drop rate) and the Shogun Lieutenant in Studio Lots (guaranteed Drill Sword blueprint and Heart Gem). Both are essential for late-game upgrades.